
Installing StolSpeed Vortex Generators (VGs)
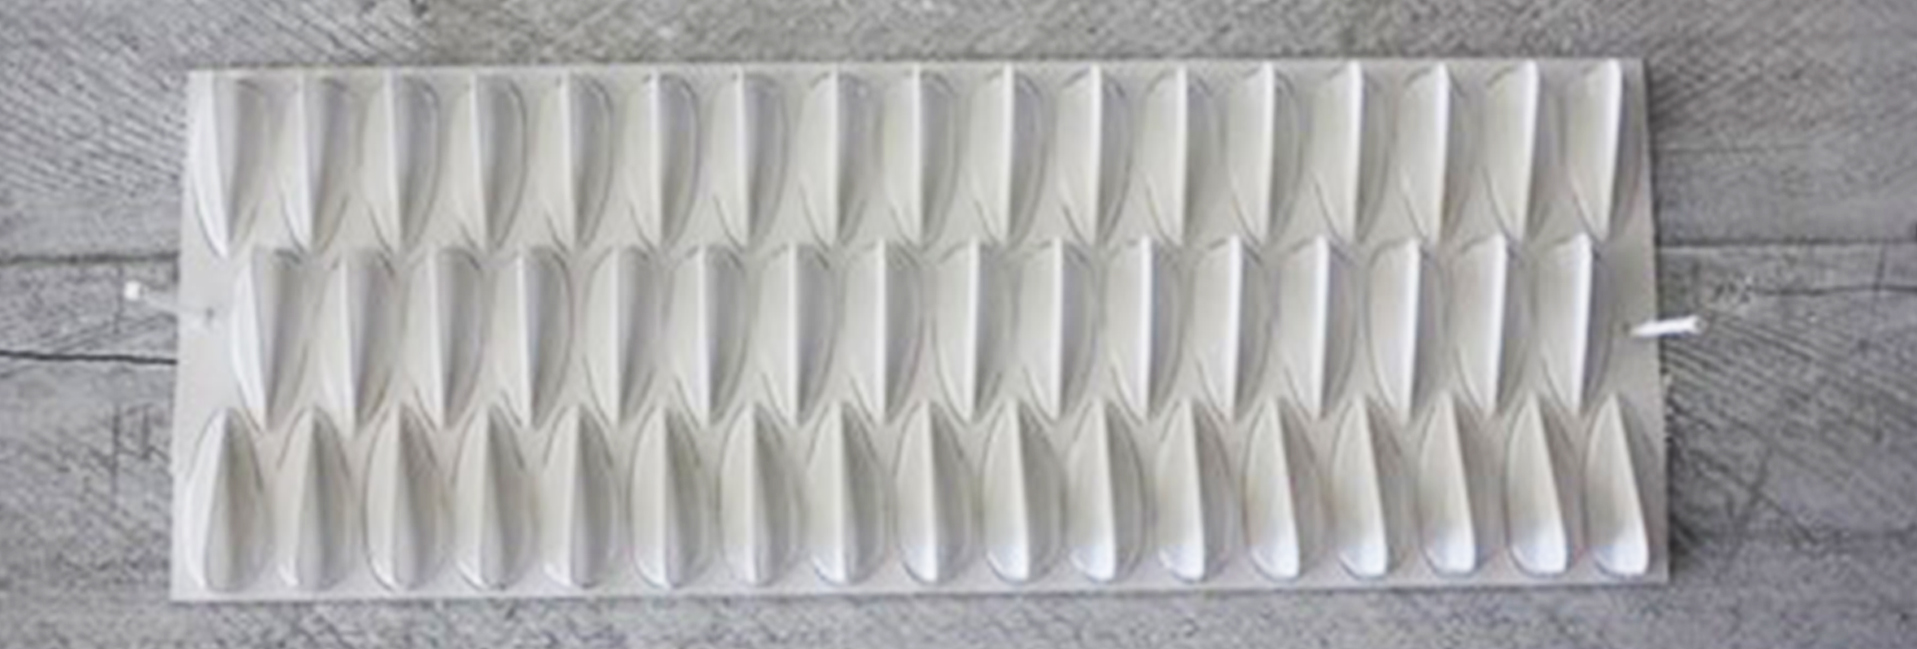
StolSpeed vortex generators can be installed on the wings and the horizontal stabilizer of STOL aircraft to improve low-speed control and reduce stall speed. The installation requires precise placement, and each kit includes three templates to guide spacing and positioning.
There’s been plenty of discussion about the exact placement of VGs and how it affects aircraft performance. After extensive testing, I recommended placement 5% of the wing cord back from the leading edge. Although many manufacturers claim the positioning varies for different aircraft, the installation instructions will suit most aircraft as long as they are installed according to the correct wing shape. You can read more details about testing and placement recommendations for different aircraft in the frequently asked questions.
Painting VGs
If your aircraft is often exposed to the sun, it's recommended to paint the VGs. While we've added UV protection, the thin, transparent material can still degrade over time. Painting also improves appearance, as dirt can show through the transparent base. Since VGs are flexible, use a thin paint layer and avoid using hardeners or thick finishes.
It’s best to paint the VGs before installation. For new aircraft, paint the wing first, then paint the VGs separately before installing them.
Steps for Painting VGs:
- Clean each VG with methylated spirits.
- Attach the VG to the adhesive footprint.
- Secure the adhesive sheet on a wooden block to keep it stable while spraying.
- Apply several light mist coats, allowing the thinner to evaporate between each coat.
Preparing the Wing
Before installing the VGs, prepare the wing by thoroughly washing with detergent; avoid automotive “wash-and-wax” products. Then, wipe the area along the marked line with alcohol to ensure a clean surface for adhesion. For best results, install VGs in temperatures between 60 and 100°F (15 to 38°C). If the temperature is below 50°F (10°C), use a heat gun or hair dryer to warm both the VG and the wing surface.
Applying Adhesive
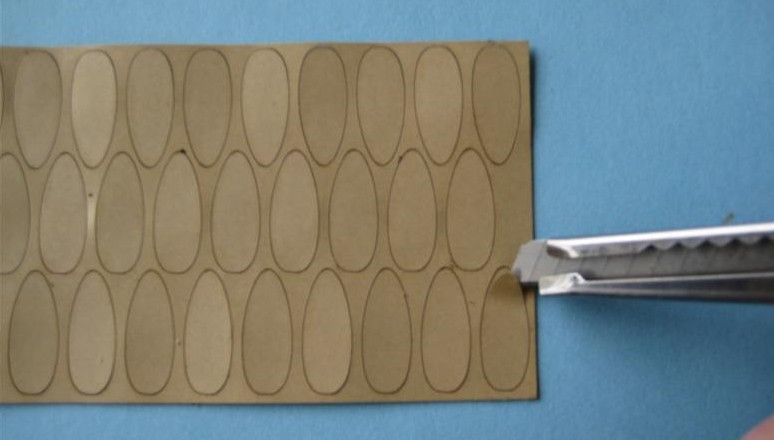
The adhesive sheets are laser-cut to match each VG base. I recommend reinforcing the backing with strong tape to prevent it from lifting with the adhesive. It’s a solvent-free, acrylic adhesive that won’t damage any paint surface. Once firmly pressed onto a clean surface, it bonds really well, yet still retains flexibility.
- Clean the base of each VG with methylated spirits.
- Use a trimming knife to lift the front tip of the covering layer on each adhesive footprint.
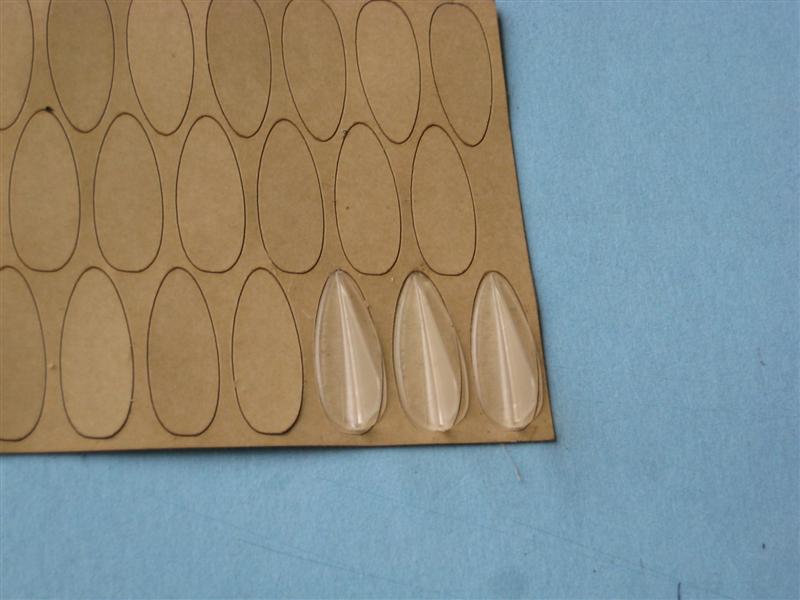
- Align and place each VG on its adhesive footprint.
- While holding the VG, press down on the backing with your fingernail to secure the adhesive and remove any air bubbles.
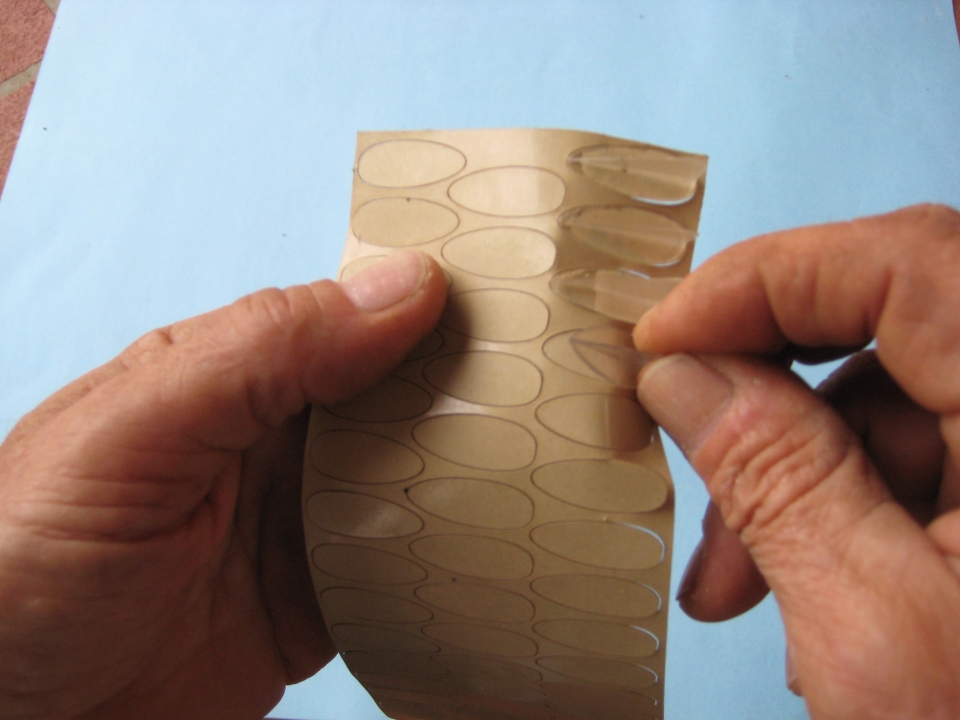
- Grip the VG by the fin and peel the backing from the tip, this should lift the VG with the adhesive attached and ready to stick.
- If you need to remove any VGs, pull on the fin while slipping a sharp blade under an edge. If the adhesive is still fresh, you can remove any adhesive from the surface by rubbing with your thumb to roll it into a ball.
Read more about using the templates for placement and positioning on the wing and Horizontal stabilizer.
1. Placings VGs on the wing
2. Placing VGs on the horizontal stabilizer
3. Placing VGs on the vertical fin
Notes:
Certified Aircraft, please note that Stolspeed VGs are not STC approved for certified aircraft.
When refuelling, be very careful when refuelling wing tanks. Polycarbonate is very tough stuff, but fuel destroys it!